To run a cron job every 2 days in a Spring application, you can utilize the `@Scheduled` annotation provided by Spring Framework. This annotation allows you to schedule tasks to run at specific intervals or at specific times. Here's how you can achieve running a task every 2 days:
Using @Scheduled Annotation

The @Scheduled annotation can be used on methods to indicate that they should be executed at regular intervals. To run a task every 2 days, you can use the fixedDelay attribute, specifying the time in milliseconds. Since a day has 86,400,000 milliseconds, two days would have 172,800,000 milliseconds.
import org.springframework.scheduling.annotation.Scheduled;
import org.springframework.stereotype.Component;

@Component
public class ScheduledTask {

    @Scheduled(fixedDelay = 172800000) // 2 days in milliseconds
    public void runEveryTwoDays() {
        // Code to be executed every 2 days
        System.out.println("Task is running every 2 days");
    }
}
Configuring the Scheduler
Before you can use the @Scheduled annotation, you need to enable scheduling in your Spring application. You can do this by adding the @EnableScheduling annotation to one of your configuration classes:
import org.springframework.context.annotation.Configuration;
import org.springframework.scheduling.annotation.EnableScheduling;

@Configuration
@EnableScheduling
public class SchedulerConfig {
    // Additional configurations if needed
}
Using Cron Expression

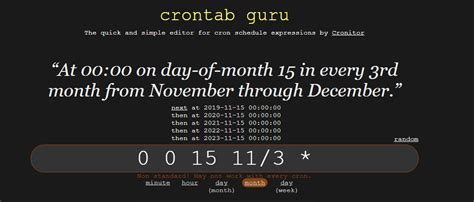
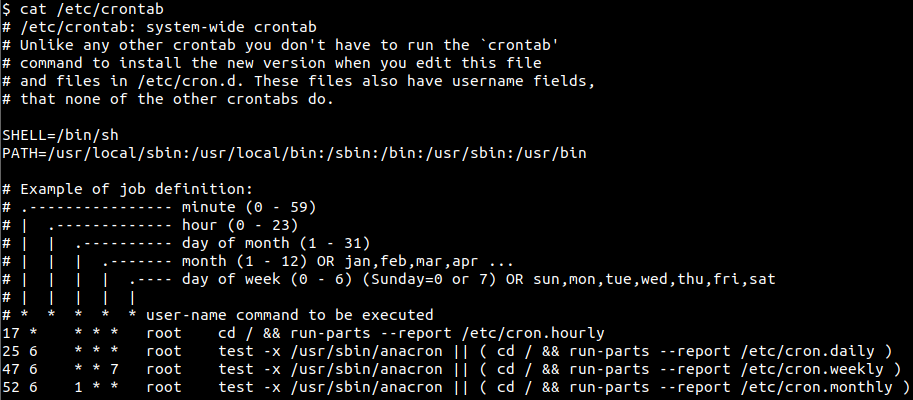
Alternatively, if you prefer using cron expressions for more flexibility, you can use the cron attribute within the @Scheduled annotation. To run a task every 2 days, the cron expression would be a bit more complex because cron doesn’t directly support intervals in days that aren’t divisible by 7 (weekly). However, you can achieve a similar effect by using a daily cron job and manually keeping track of when 2 days have passed:
import org.springframework.scheduling.annotation.Scheduled;
import org.springframework.stereotype.Component;

import java.time.LocalDate;
import java.time.temporal.ChronoUnit;

@Component
public class ScheduledTask {

    private LocalDate lastRunDate;

    @Scheduled(cron = "0 0 0 * * *") // Runs every day at midnight
    public void runDailyAndCheckForTwoDays() {
        if (lastRunDate == null || ChronoUnit.DAYS.between(lastRunDate, LocalDate.now()) >= 2) {
            // Code to be executed every 2 days
            System.out.println("Task is running every 2 days");
            lastRunDate = LocalDate.now();
        }
    }
}
Choosing the Right Approach
Both methods can achieve the goal of running a task every 2 days, but they have different implications. Using fixedDelay directly in the @Scheduled annotation is more straightforward for simple interval-based scheduling. However, using a cron expression with a daily check allows for more flexibility if you need to adjust the schedule or add more conditions in the future.
| Approach | Description |
|---|---|
| Fixed Delay | Simple, direct interval scheduling using `fixedDelay` in `@Scheduled`. |
| Cron Expression | More flexible, using `cron` in `@Scheduled`, with manual interval tracking. |

Key Points
- Use `@Scheduled` annotation for scheduling tasks in Spring.
- `fixedDelay` attribute is suitable for simple interval-based scheduling.
- Cron expressions offer more flexibility but may require manual interval tracking for non-standard intervals.
- Enable scheduling with `@EnableScheduling` annotation.
- Choose the approach based on the specific needs and potential future adjustments of your application.
How do I enable scheduling in a Spring application?
+To enable scheduling, add the @EnableScheduling annotation to one of your configuration classes.
What is the difference between using fixedDelay and a cron expression in @Scheduled?
+
fixedDelay is used for simple interval scheduling, whereas cron expressions offer more flexibility and can be used for complex scheduling needs, including daily, weekly, monthly, etc., patterns.
